I've been working HARD on the dining room built ins. I have finally mostly finished! Here are photos and a brief outline of how I did it all. (Well, Todd helped on 4 occasions so he gets a little credit. ;) I did most of this during Lydia's naps and after the girls were in bed. Or, Todd would take them somewhere so I could have uninterrupted time to work. It is literally impossible to work on anything and have 2 bodies on top of you needing you at the same time. lol
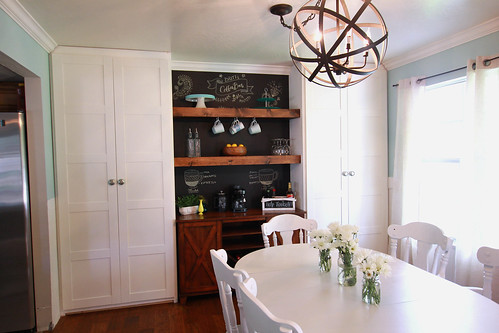
I love the final result!!
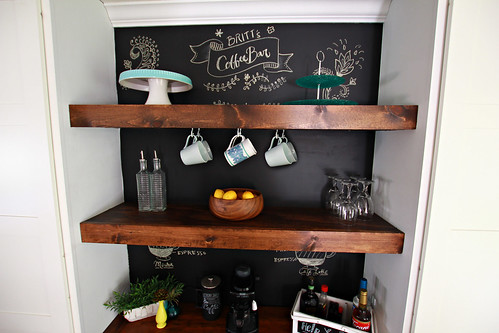 |
| I basically copied this from Fixer Upper. I love that show. |
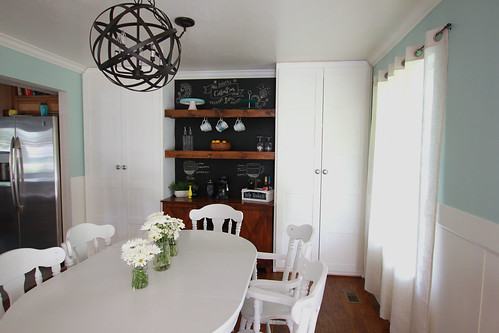 |
| There is SO MUCH storage in those cabinets. I don't even know what to put in there! |
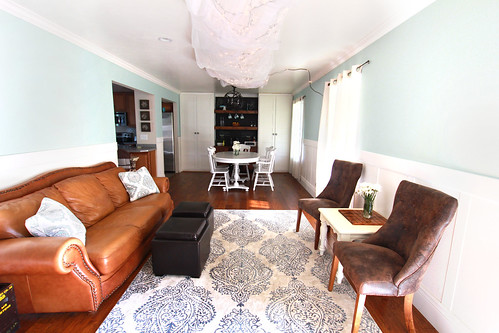 |
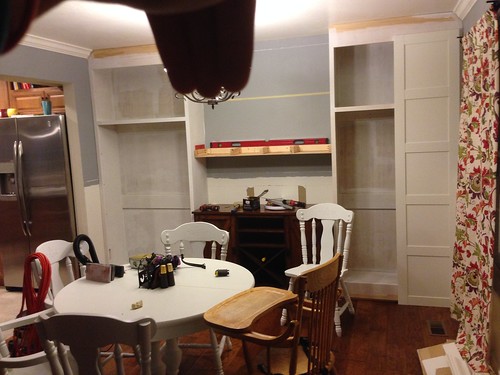
| The whole long front room. The Christmas lights on the ceiling were temporary decor for a wedding shower I hosted. |
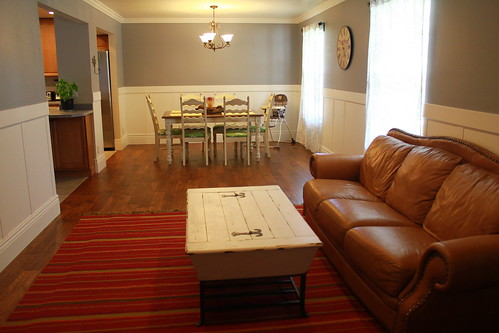 |
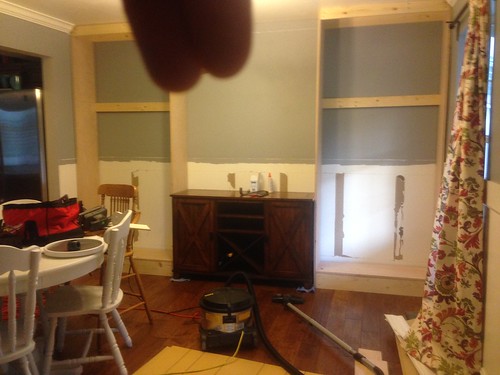
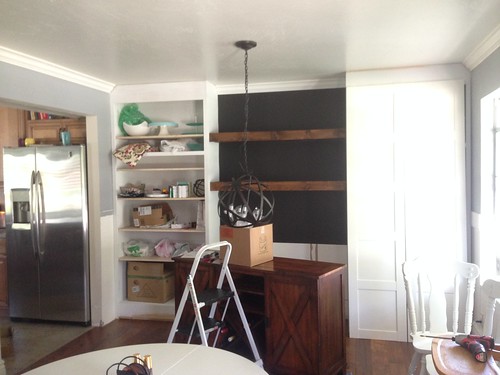
| Here is the living room before. |
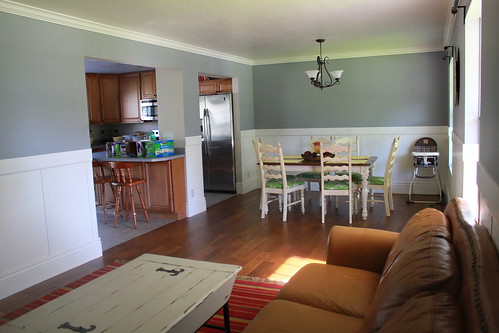 |
| Another "before" view. |
And the abbreviated version of how I did it:
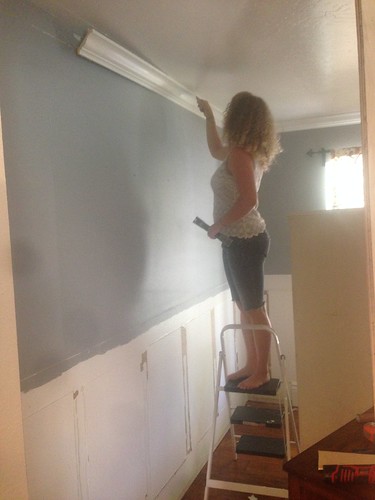 |
| Step 1: Rip out all molding. |
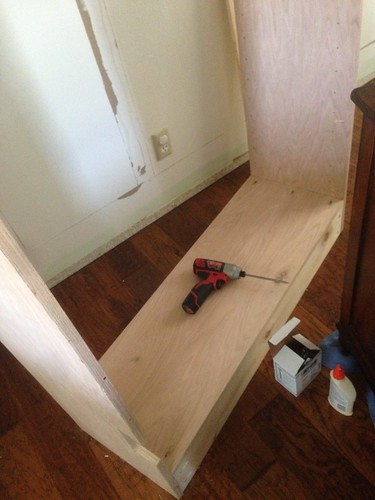 |
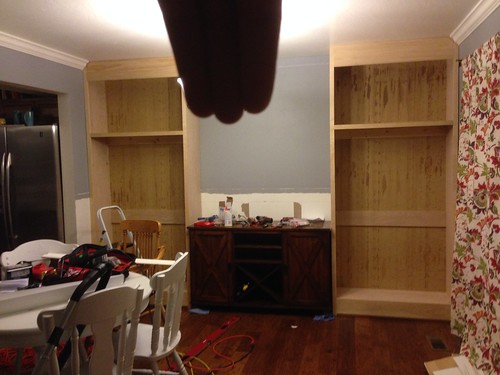
| Step 2: build cabinet boxes out of plywood. I built them standing up since they were so tall-- I literally could not lay them down because they were butted up against my ceiling. |
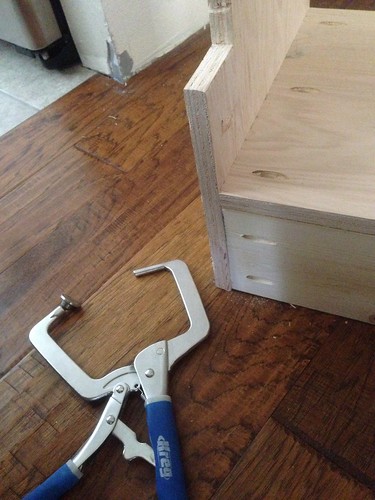 |
| This wonderful tool is worth it's weight in gold and made step 2 SO MUCH EASIER! It's the kreg jig clamp thingy. |
 |
| Here are the boxes. I added a permanent shelf 2/3 of the way up for extra support. Oh, and the brown buffet is from World Market (but I got it off ksl.com for $100!) |
 |
| Step 3: Glue and nail 1/4 inch plywood to backs. Step 4. build face frame with select pine and attach using pre-drilled holes and kreg jig clamp thingy. |
|
 |
| Step 5: paint white. I bought the doors but didn't hang them yet. I couldn't use the hinges that came from Ikea because they were the wrong kind. Step 6: build shelves between cabinets. |
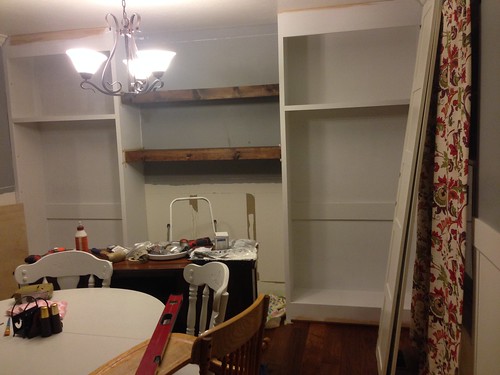 |
| Step 7: stain shelves bown, let them dry, polyurethane shelves. |
 |
| Step 8: Glue and nail 1/8 inch plywood to the wall between the brown shelves (I painted them before hand with black chalkboard paint.) Step 9: install World Market metal orb chandelier |
|
| Step 10: hang doors (I had to buy special 1/4 inch overhang hinges online that literally ripped out chunks of the cabinet doors but I was too exhausted to care!) Step 11: Decorate! |
|
| Again, above is a before shot: |
|
| And an after shot. |
This was a "one step forward, 4 steps backward" kind of project. I'll give one example, though there are SO MANY THINGS that happened this way... I had the cabinet's inner shelves cut to size at Home Depot. When I got home I realized the shelves were just a bit too long. So I went to cut them down to size with my chop saw... but it only cuts 6 inches deep and the shelves are 14 inches deep. So I cut anyway, flipped the board, and cut again- which left a 2 inch uncut section in the middle. I grabbed my jig saw, and while cutting, broke the jig saw blade. I ran to Home Depot to buy a new blade, but there are 2 shapes of blade and I didn't know which one I needed! So I bought both, ran home, installed the correct blade, and finally finished cutting the darn shelf. Then I ran back to Home Depot to return the unused blade.
All for one cut! Argh, there were so many times while doing this that I questioned my desire to take on projects at all. Oh well, I really love the final result. Shout out a thanks to Fixer Upper, www.fourgenerationsoneroof.com, and megandmartinmen.blogspot.com for the inspiration and tips.
TOTAL COST OF THE BUILT-INS WALL: $1086
All lumber, new tools, the buffet, hanging shelves, cabinet lighting (to be installed soon) doors, hinges, paint and trim cost $1086.
Most everything else I bought highly discounted or second hand. The rug, accent chairs, dining chairs, dining table, curtains, chandelier, and all decor cost an additional $860. So the entire living room/ dining room makeover was under 2 grand.

0 comments:
Post a Comment